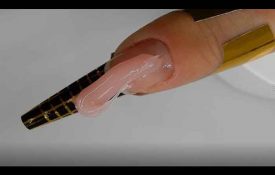
The installation of extension with chablon goes through several stages. Today, we will tell you how to use a stencil.
1. Preparation
You must first start by preparing all the necessary equipment, for this you will need:
- Cuticles pusher,
- Cuticle oil,
- Chablon,
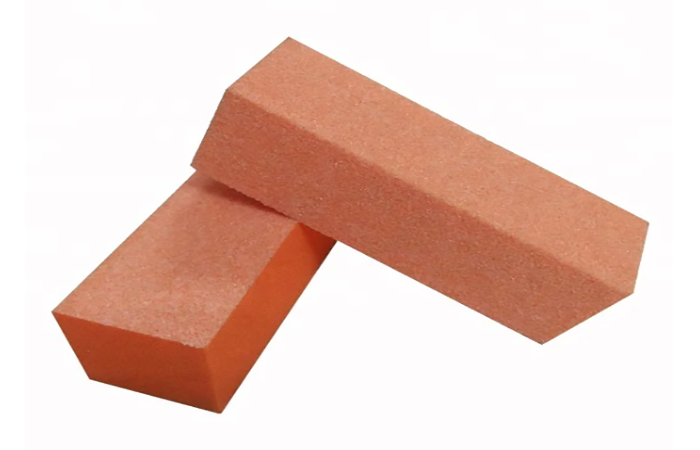
- A nail buffer block and a nail file,
- Varnish preparator for gel extension application,
- Extension gel or resin,
- A UV lamp
2. Laying the stencil
First of all, you will have to take off the stencil from its support. Depending on the size of the nails, you can cut the stencil with scissors. Then thread each piece of pre-cut stencil onto each finger, gluing it horizontally.
3. Laying the gel or extension resin
Depending on the product you will use, you should use primer or any gel extension preparation varnish. Then you take a dab of gel and start modeling it on the nail and gradually mounting it on the template. Finally, pass the nail under a UV lamp for 2 minutes. When the gel has priced well, you can gently remove the template.
4. Finishing and decoration
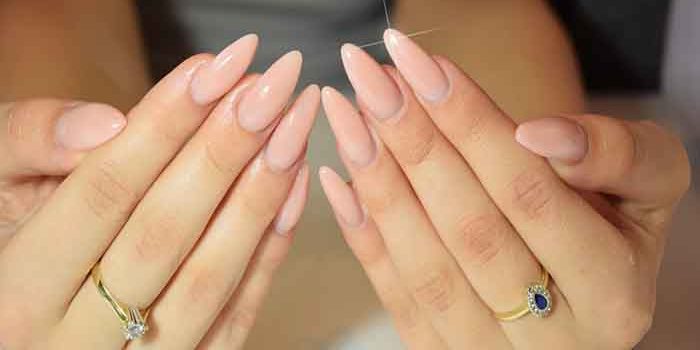
File, buff and brush your nails as many times as needed to achieve a precise shape and soft nails. You can finally color and decorate them as you wish with any type of nail polish.
Finally, it is essential to invest in suitable manicure kit. For this, our site is full of ideas and products perfectly suited to this use.
Read also: Chablon For Gel Nails, do you know it?
