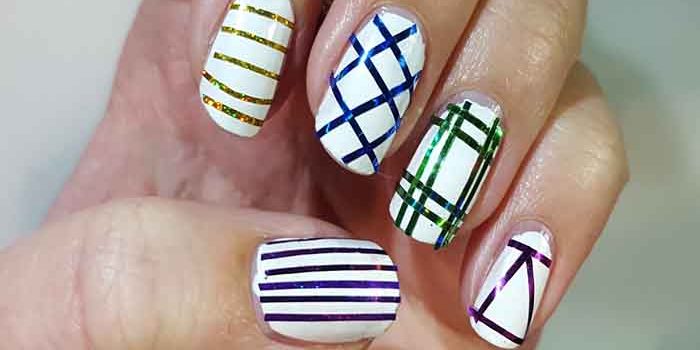
Striping tape is a nail art technique that consists of placing very flat metallic threads on the nails in order to decorate them in different ways. What are the different steps to apply the striping tape? Today, the nail supply expert Maryton will give you answers. Just keep reading!
This nail art accessory comes in a roll to be cut. They come in all colors and they can be plain or patterned. You will be spoiled for choice to create all kinds of unique and original nail art! Here are the different steps to follow if you want to know how to make the striping tape:
1. First of all, it is important to make sure that your varnish has completely dried before applying the striping tape.
2. Using scissors or pliers, cut strips of striping tape according to the desired size.
3. Place the striping tape gently on your nail, then, once placed in the right place, make it adhere well by pressing on it with a wooden pick for example.
4. Finish with the application of two coats of top coat to prolong the life of this manicure.
5. To remove striping tape correctly without damaging your nails, simply use acetone remover with a cotton swab.
Hoping that this article has pleased you and will give you ideas! In addition, I also advise you to invest in some professional manicure sets to care for your nails!
Read also: What are the benefits of gel nail wrap?


